
Beginning Drawing
Medium:
Drawing is the oldest and most natural of all artistic mediums. It’s very common while around a fire to see someone take a burnt stick and use the charcoal to create any kind of image. Despite its long history, drawing is still the fundamental skill for all artists. Those artists who learn to draw well are freed to explore the artistic qualities of various mediums without being encumbered by their inability to accurately draw what they wish.
Goals:
This class is designed to give each student a introductory level of confidence and skill in the process of drawing. Students will explore the key components of how to record what they see onto paper, canvas, or any other artistic medium.
Process:
Learning to draw well is more an exercise of the mind rather than the hand. Many of us have had a lot of practice with drawing. It’s something we do to occupy time and record our thoughts. We do it so often that we may forget how our mind processes what we see and how our hand reacts to record it on paper. Stepping back into the process helps to refocus our mind on how we see and therefore how we draw.
Core Units:
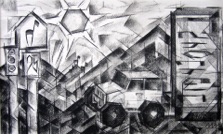
-Linear Perspective
-Structure Drawing
-Value/Rendering/Shading
Drawing begins with linear perspective. This discovery of the renaissance era allows for an artist to represent 3 dimensionality on a flat surface. Many of the exercises in perspective are not intended as artistic ends but rather methods for teaching the mind to recognize the concepts of perspective and how they apply to drawing.
Secondary to linear perspective is the process of finding the structure of what you see. Structure drawing is the line drawing that we create in order to define what we see with lines. By building a drawing from the inside out we are able to use proportions and compare different areas of a drawing to other areas and more precisely draw what we see.
When we have completed an accurate structure drawing we can then apply value to our drawing. This process is often referred to as rendering or shading. When combined with linear perspective and sound structure drawing, rendering achieve a 3 dimensionally that can fool the eye into believing their is actual depth to a flat surface.
Beyond the medium:
Drawing goes beyond pencil and paper. When you have mastered the skills of drawing you will be able to do more with any artistic medium. Having a firm grasp of this tool will free you to be able to be the artist you want to be. Even if you become a non-representational sculptor or a photographer you will have more success and merit in your artwork if you possess the ability to see and record what you see.
Materials and Supplies:
In order to get the best price on drawing surfaces and materials this class requires a $10 lab fee. This will allow for bulk purchases of paper, pencils, charcoal, and other needs for class. Because the supplies belong to the class, it is imperative that students use class time to do their assignments so that they can have access to the supplies.
Assignments and Weekly Drawings
During the duration of this class students will complete exercises designed to build skills and abilities in addition to artistic assignments that will allow for creativity and expression. Most of these exercises and activities can be completed during class. If a student is unable to complete an assignment during the class time provided it may be necessary to finish an assignment at home to complete it before the due date.
In addition to any time a student needs to complete an assignment at home each student is required to complete a weekly drawing in their sketchbook. Each weekly drawing should be done from some reference; an observational drawing or a drawing based on a photo is acceptable. Even if you are trying to create something from your imagination, use a reference to create a more accurate drawing. Each drawing should represent an hour of work. The instructor is aware of the varying level of skill each student has and will grade accordingly. All weekly drawings will be collected on the first class day after the weekend, graded and then returned to students on the same day. Any drawing NOT in the students own sketchbook will not receive full credit. Having a collection of your drawings in a single location is a great way to judge your progress and abilities. Many colleges will require a sketchbook for scholarship and program acceptance applications. It is therefore wise to begin the habit of working and drawing in a sketchbook that will last.
Course Documents

Assignments
Linear Perspective; a tool for the creation of depth in painting and drawing where all parallel lines appear to converge toward a single point on the horizon.
1 Point Perspective 2x2 box -Steps for drawing a 2x2 box in 1 point perspective.
1 Point Perspective 3 boxes -Steps for drawing 3 boxes in 1 point perspective.
1 Point Perspective 2 boxes -Steps for drawing 2 boxes in 1 point perspective with a pyramid and triangle roof.
1 Point Perspective Ellipses -Drawing ellipses and cylinders in perspective.
1 Point Perspective Ellipses -Drawing ellipses and cylinders in perspective.
1 Point Perspective Final Practice -Review of concepts from all perspective exercises.
1 Point Perspective Final -Drawing a street or city.
Structure Drawing; drawings that show contours and value transitions using only line. Can be a finished product or a base to apply value/shading. Increase your ability to combine the principles of perspective along with observation skills to make a structure drawing by doing these exercises and assignments.
Rules for Drawing. These guidelines will help to simplify the process of drawing and improve the speed and accuracy of your work.
Draw Big to Small; Find the biggest shapes first, then break or divide those shapes into smaller shapes. Use proportions to find the size of the shapes -how wide is a shape compared to the height -what size is one shape compared to another.
Draw Angles to Curves; Draw angled or straight lines first. Straight lines are easier to measure and draw. Use these lines to map out where curved lines are and then round them out as you become satisfied with their position and directions.
Draw With Your Arm then Wrist; Use your whole arm -shoulder, elbow, and wrist to draw the big lines. It is easier to draw big shapes using your whole arm rather than trying to use only your wrist like you would for handwriting. When you have those big lines drawn, then you can use smaller movements to draw the smaller shapes.
Draw General to Specific; Like drawing the big shapes then the small shapes, draw the general information, then add details. Never finish the details of one area before you have the general drawing finished first. A common mistake of drawing is to finish the details of an area, but to draw them in the wrong place because they did not get the other information into the drawing before starting on the detail.
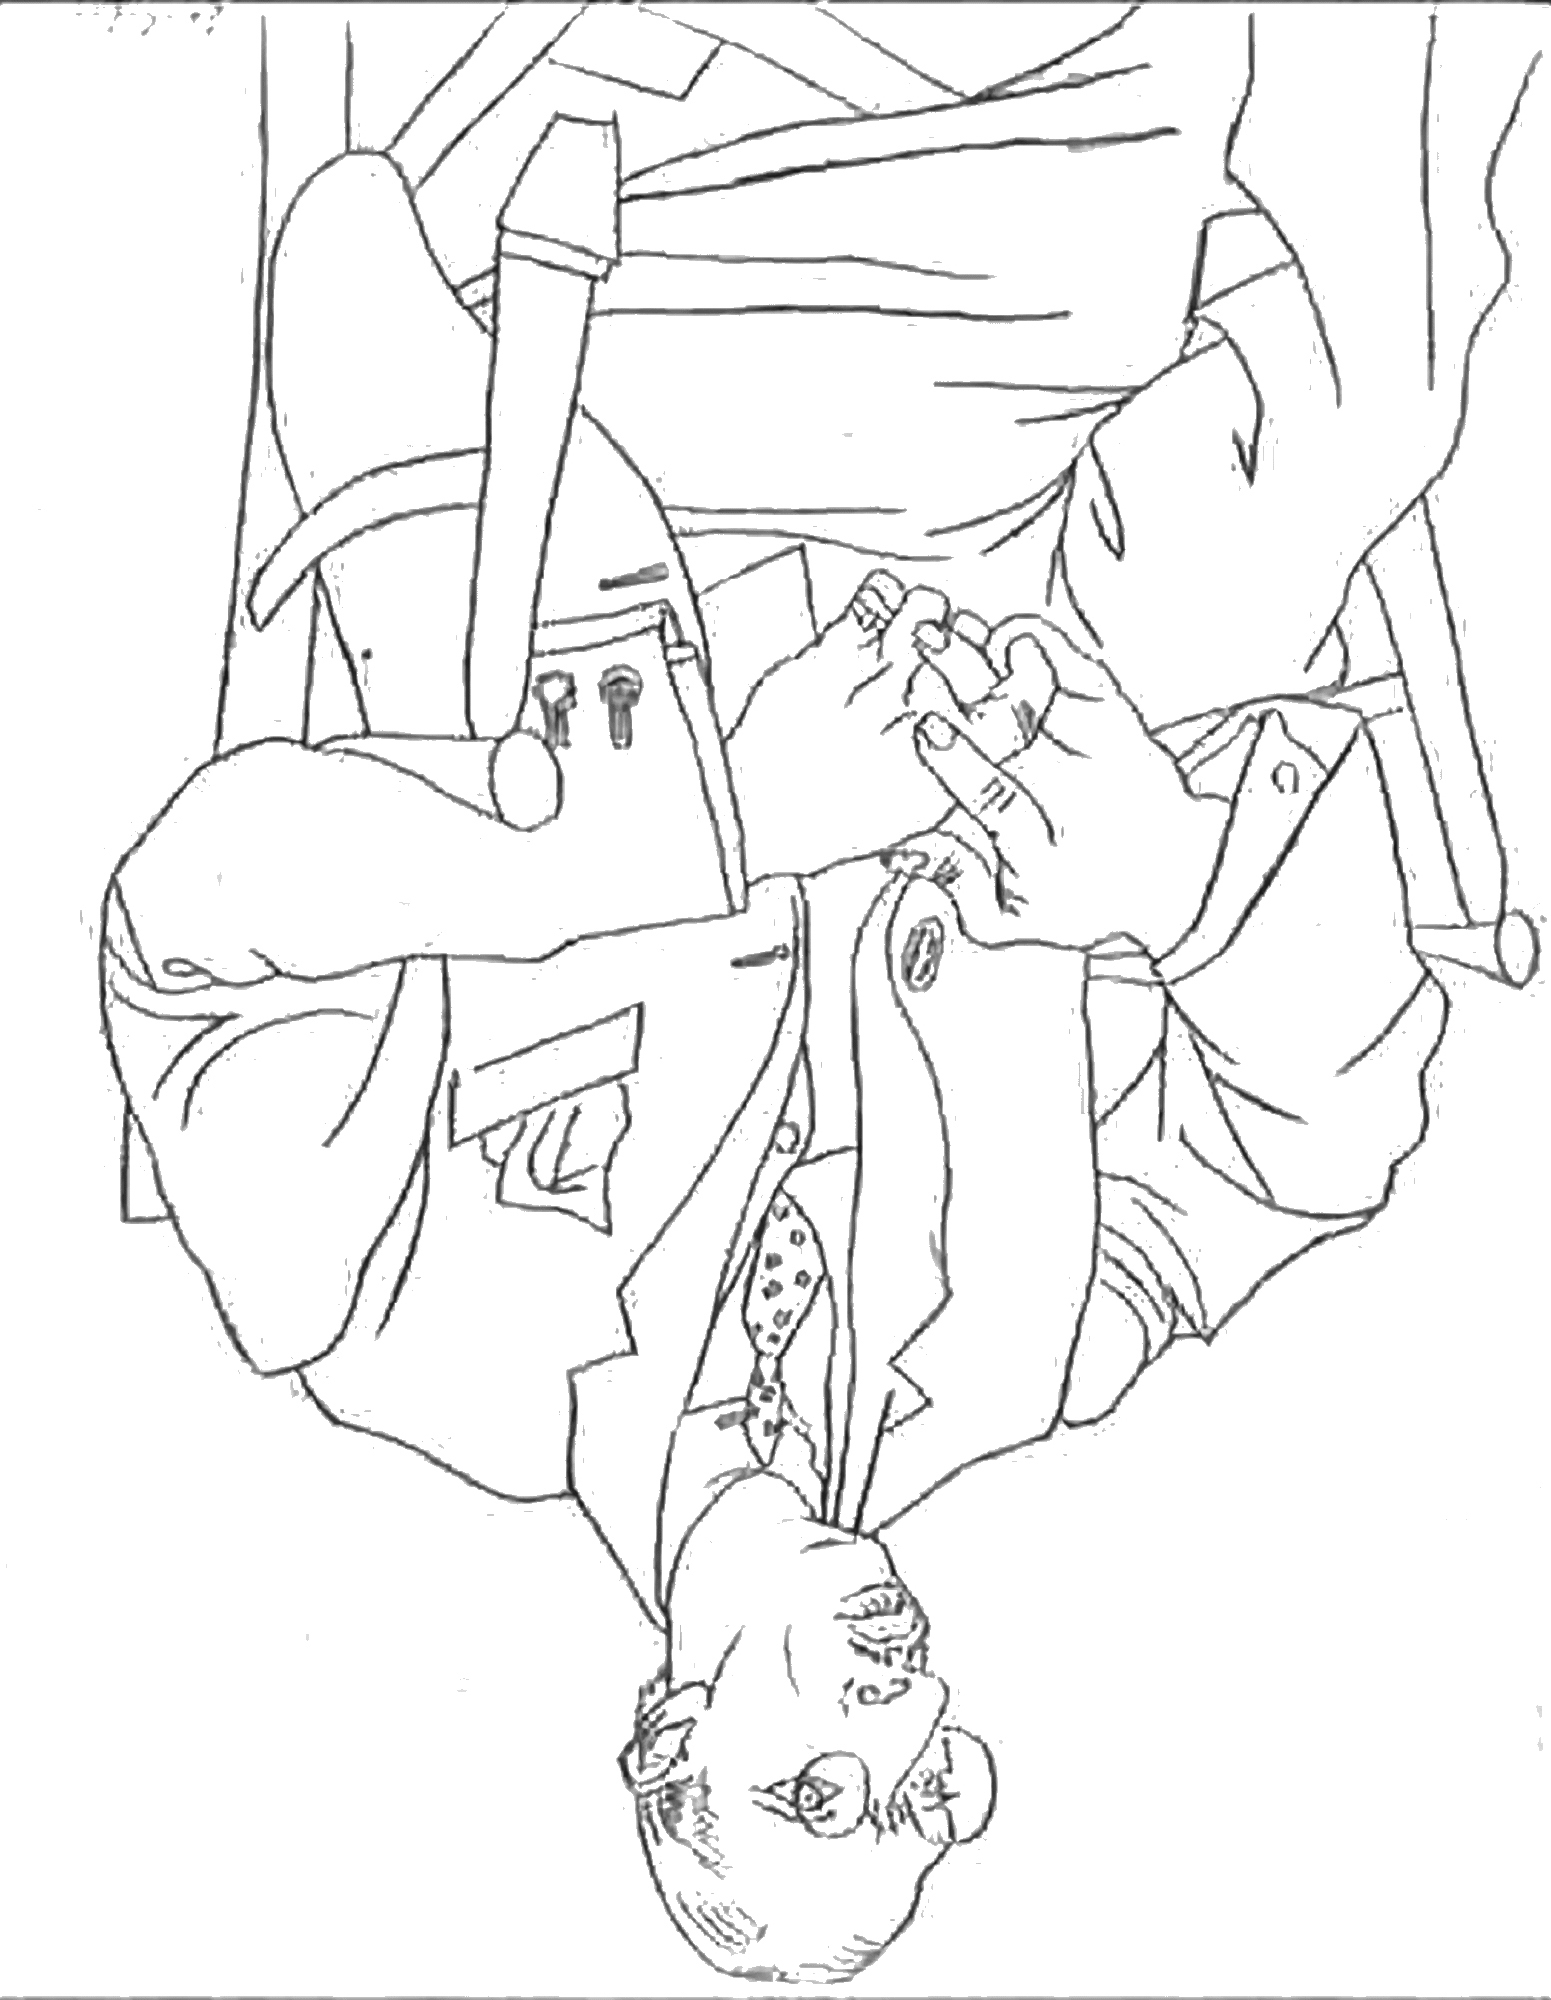
Upside Down Picasso. Drawing is more about looking and learning how to look at a subject rather than what your hand does with a pencil. Use this image of the composer Stravinsky drawn by Picasso as an exercise in looking. Draw the image upside down as it is; focus on the outside edges and shapes working you way into the middle and the details of the drawing. Use the rules for drawing.
Picasso Stravinsky.jpg
Contour Drawing. (Contour; the outside edge of an object or shape - Silhouette) Draw the contour of at least 5 objects in a group. Make sure all the objects are touching each other so that you contour is continuous.
Contour Line Drawing. -A drawing made using only line to show the edges of shapes, boundaries, and details of your drawing. Create a contour line drawing of at least 5 objects arranged in a group.
Continuous Contour Drawing. -A drawing made using one continuous line that follows the contours of what you are drawing or looking at. Blind Contour Drawing -Creating a continuous contour drawing without looking at your paper as you draw. Keep your pencil on the paper and move it as your eye moves across the drawing. Create a Blind Contour Drawing with at least 5 objects arranged in a group. Do 2 small drawings in pencil to practice and then do one on 12x18 paper in pen or fine point marker.
5 min Gesture Drawing. -A gesture drawing is a drawing made quickly that captures the main shapes and figures of a drawing. A gesture drawing should be done fast. Draw the images from the presentation; take only 5 minutes per drawing. Use the Rules for Drawing to help get the information down quickly.
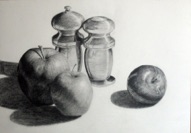
Bottles and Blocks. Work on your structure drawing by drawing bottles and blocks. This will help you work on proportions, perspective, and observation skills. Draw 5 separate drawings.
Final Structure Drawing. Complete a drawing of at least 2 blocks and 1 bottle on a large piece of drawing paper. You will be asked to do this until you demonstrate accurate proportions and structure.
Value/Rendering/Shading; Applying shading to a drawing adds a level of depth and realism that is very appealing. To become good at shading requires the ability to recognize and then replicate the values you see. It is important to always remember that you need to have a good structure before you start shading.
Value Exercises. Practice and refine your ability to use value and shading to represent light and shadow using pencil and pen. Take the time to do these right.
Boise Capital. Use the Rules for Drawing to draw the Boise State Capital. Follow the steps and see how a complicated subject can be simplified into manageable sections using the Rules for Drawing.